As I moved into my new place, I had a large dressing room. Now, as a guy I wear clothes, not dress up like a king. So I tool a friend’s suggestion and turned part of it into a study. For this I needed a desk and couple of chairs.
I got a desk ordered and got two value chairs (nothing fancy). And I received it today morning at 8.30! Here’s what I was upto this morning.

Unboxed the stuff and all these planks were in there. They needed a wipe, which was duly done. That satisfies my gf as she wants everything to be cleaned before it’s used.

Some more planks.

This document says I needed 4 tools to assemble the desk. I said challenge accepted, I will do it with only 1 proper tool. From previous mistakes I realised to keep the screws, lockers, etc in one place.

Setting about doing the drawers first. I wanted to be sure I follow the instruction manual and not act too smart!

Drawer is coming along nicely.
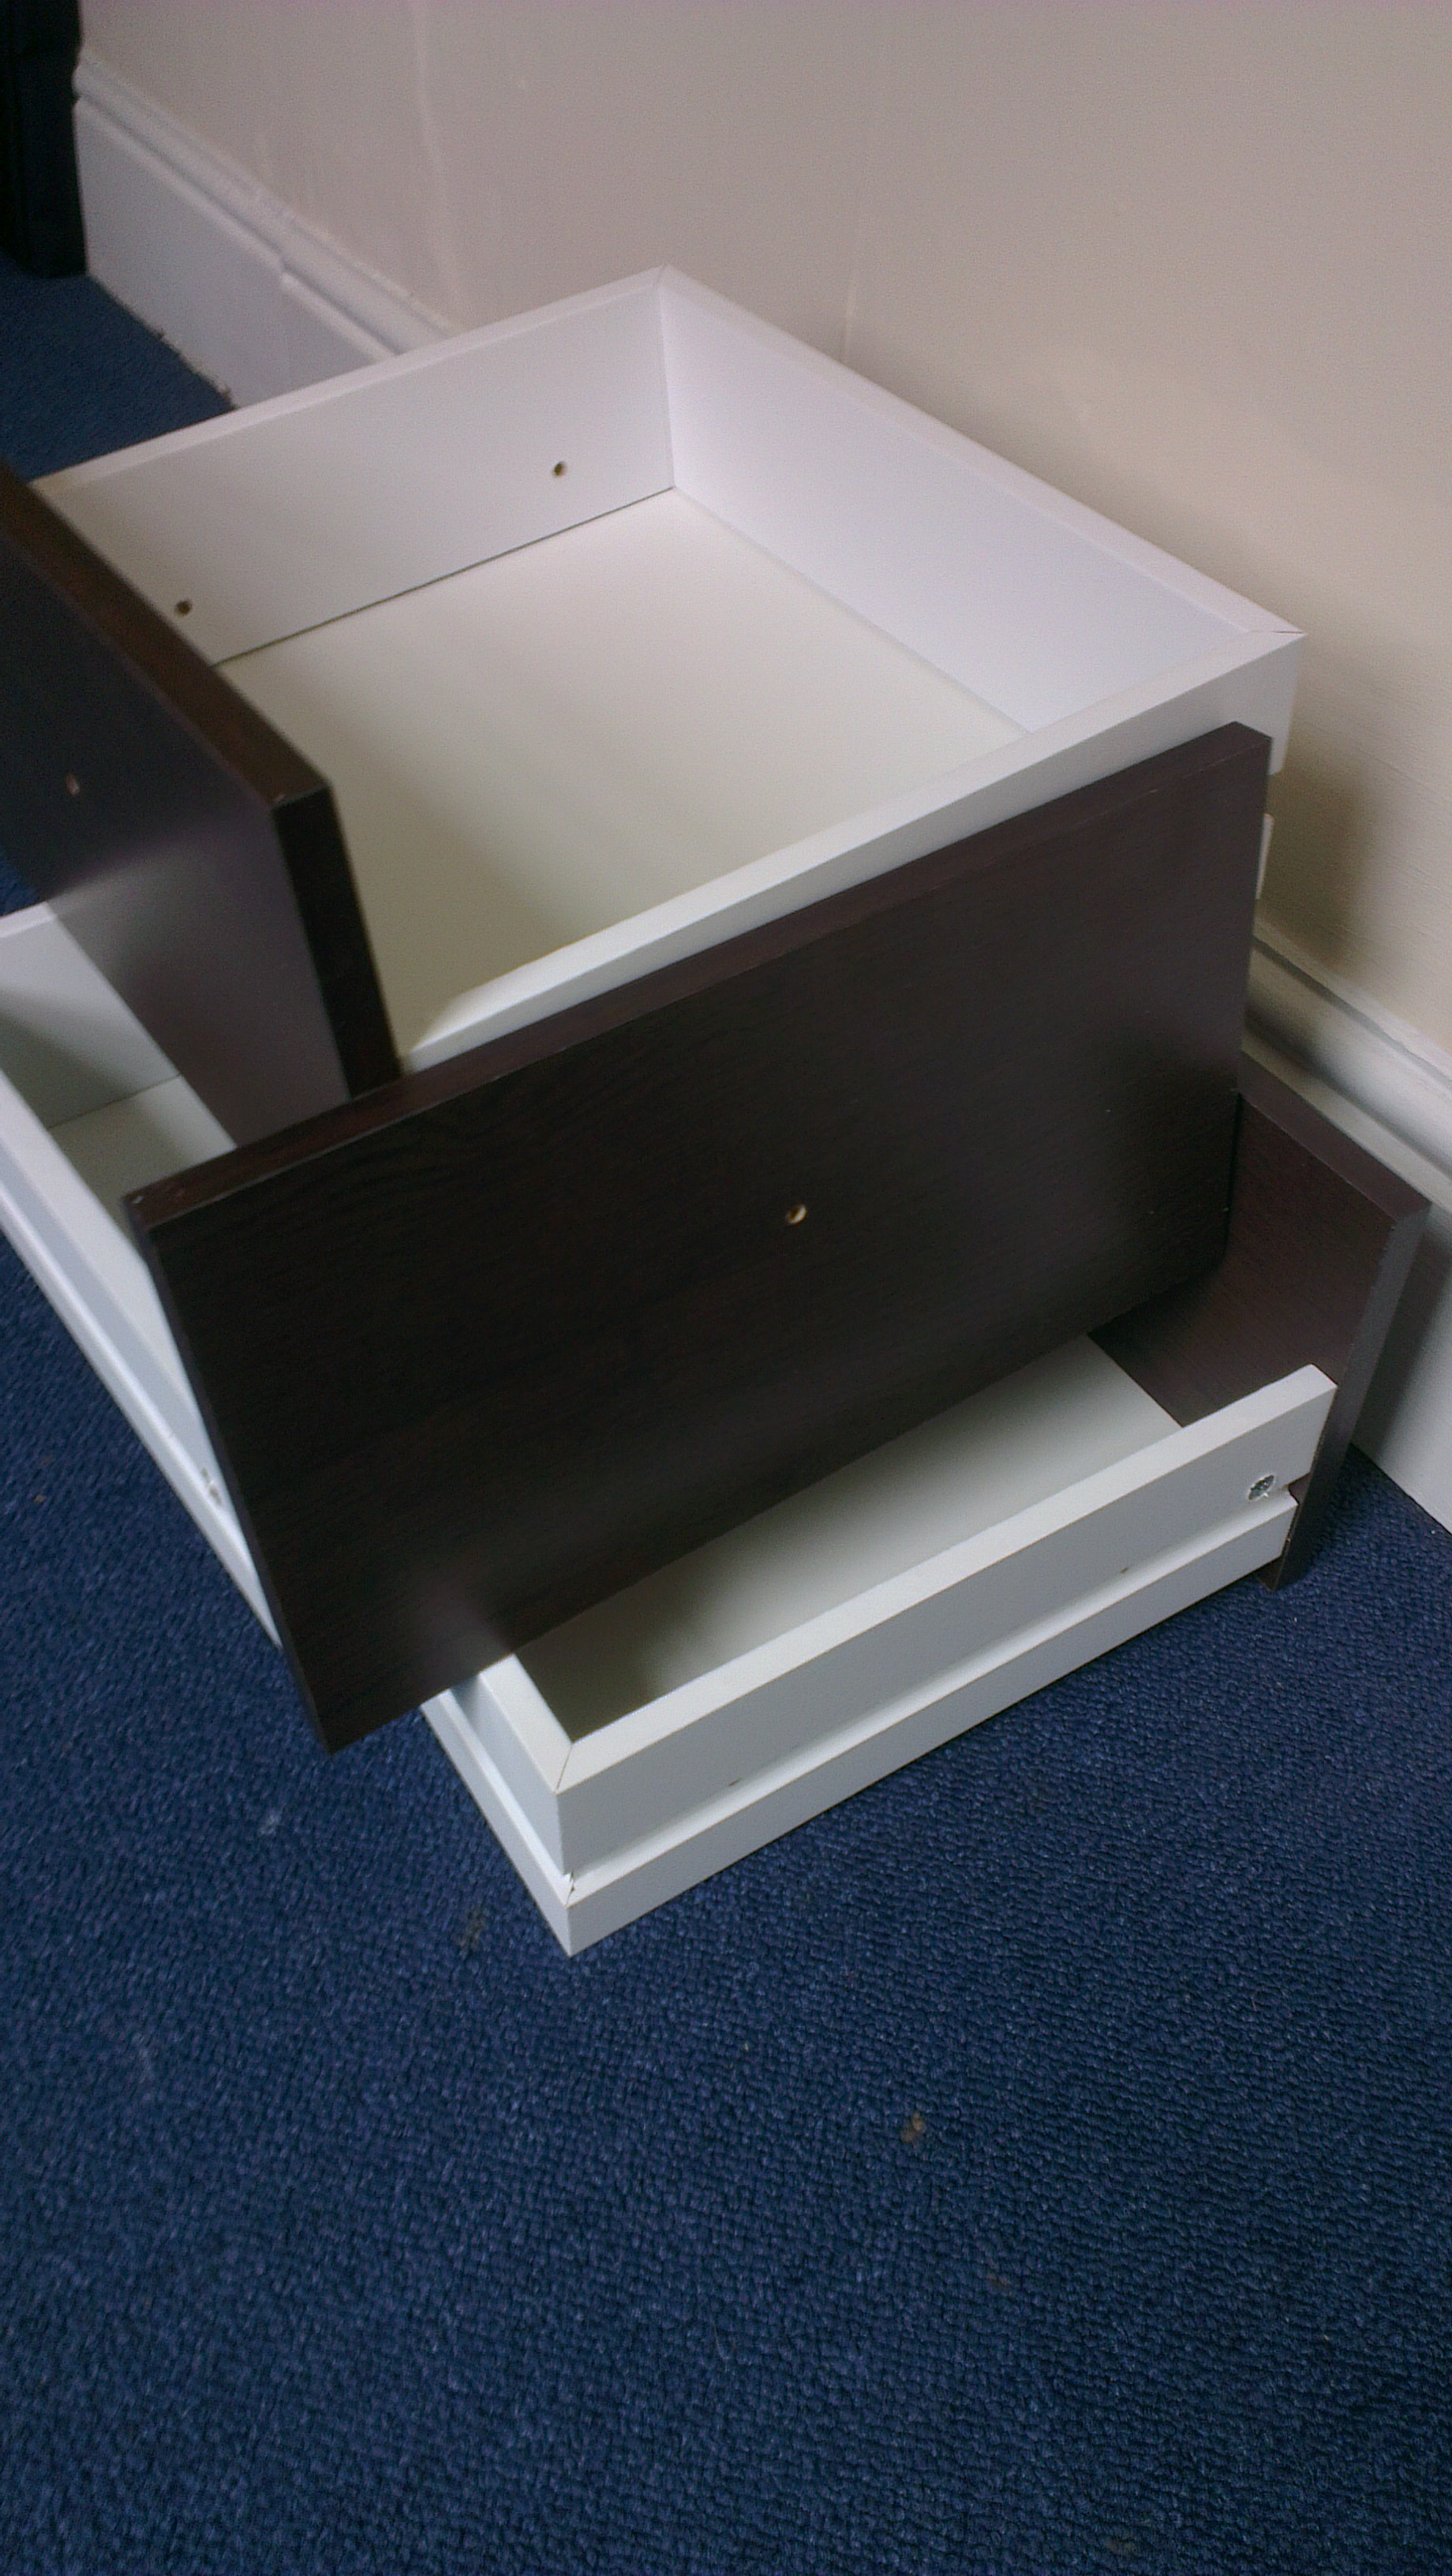
Here are the ‘raw’ drawers, i.e. just boxes.
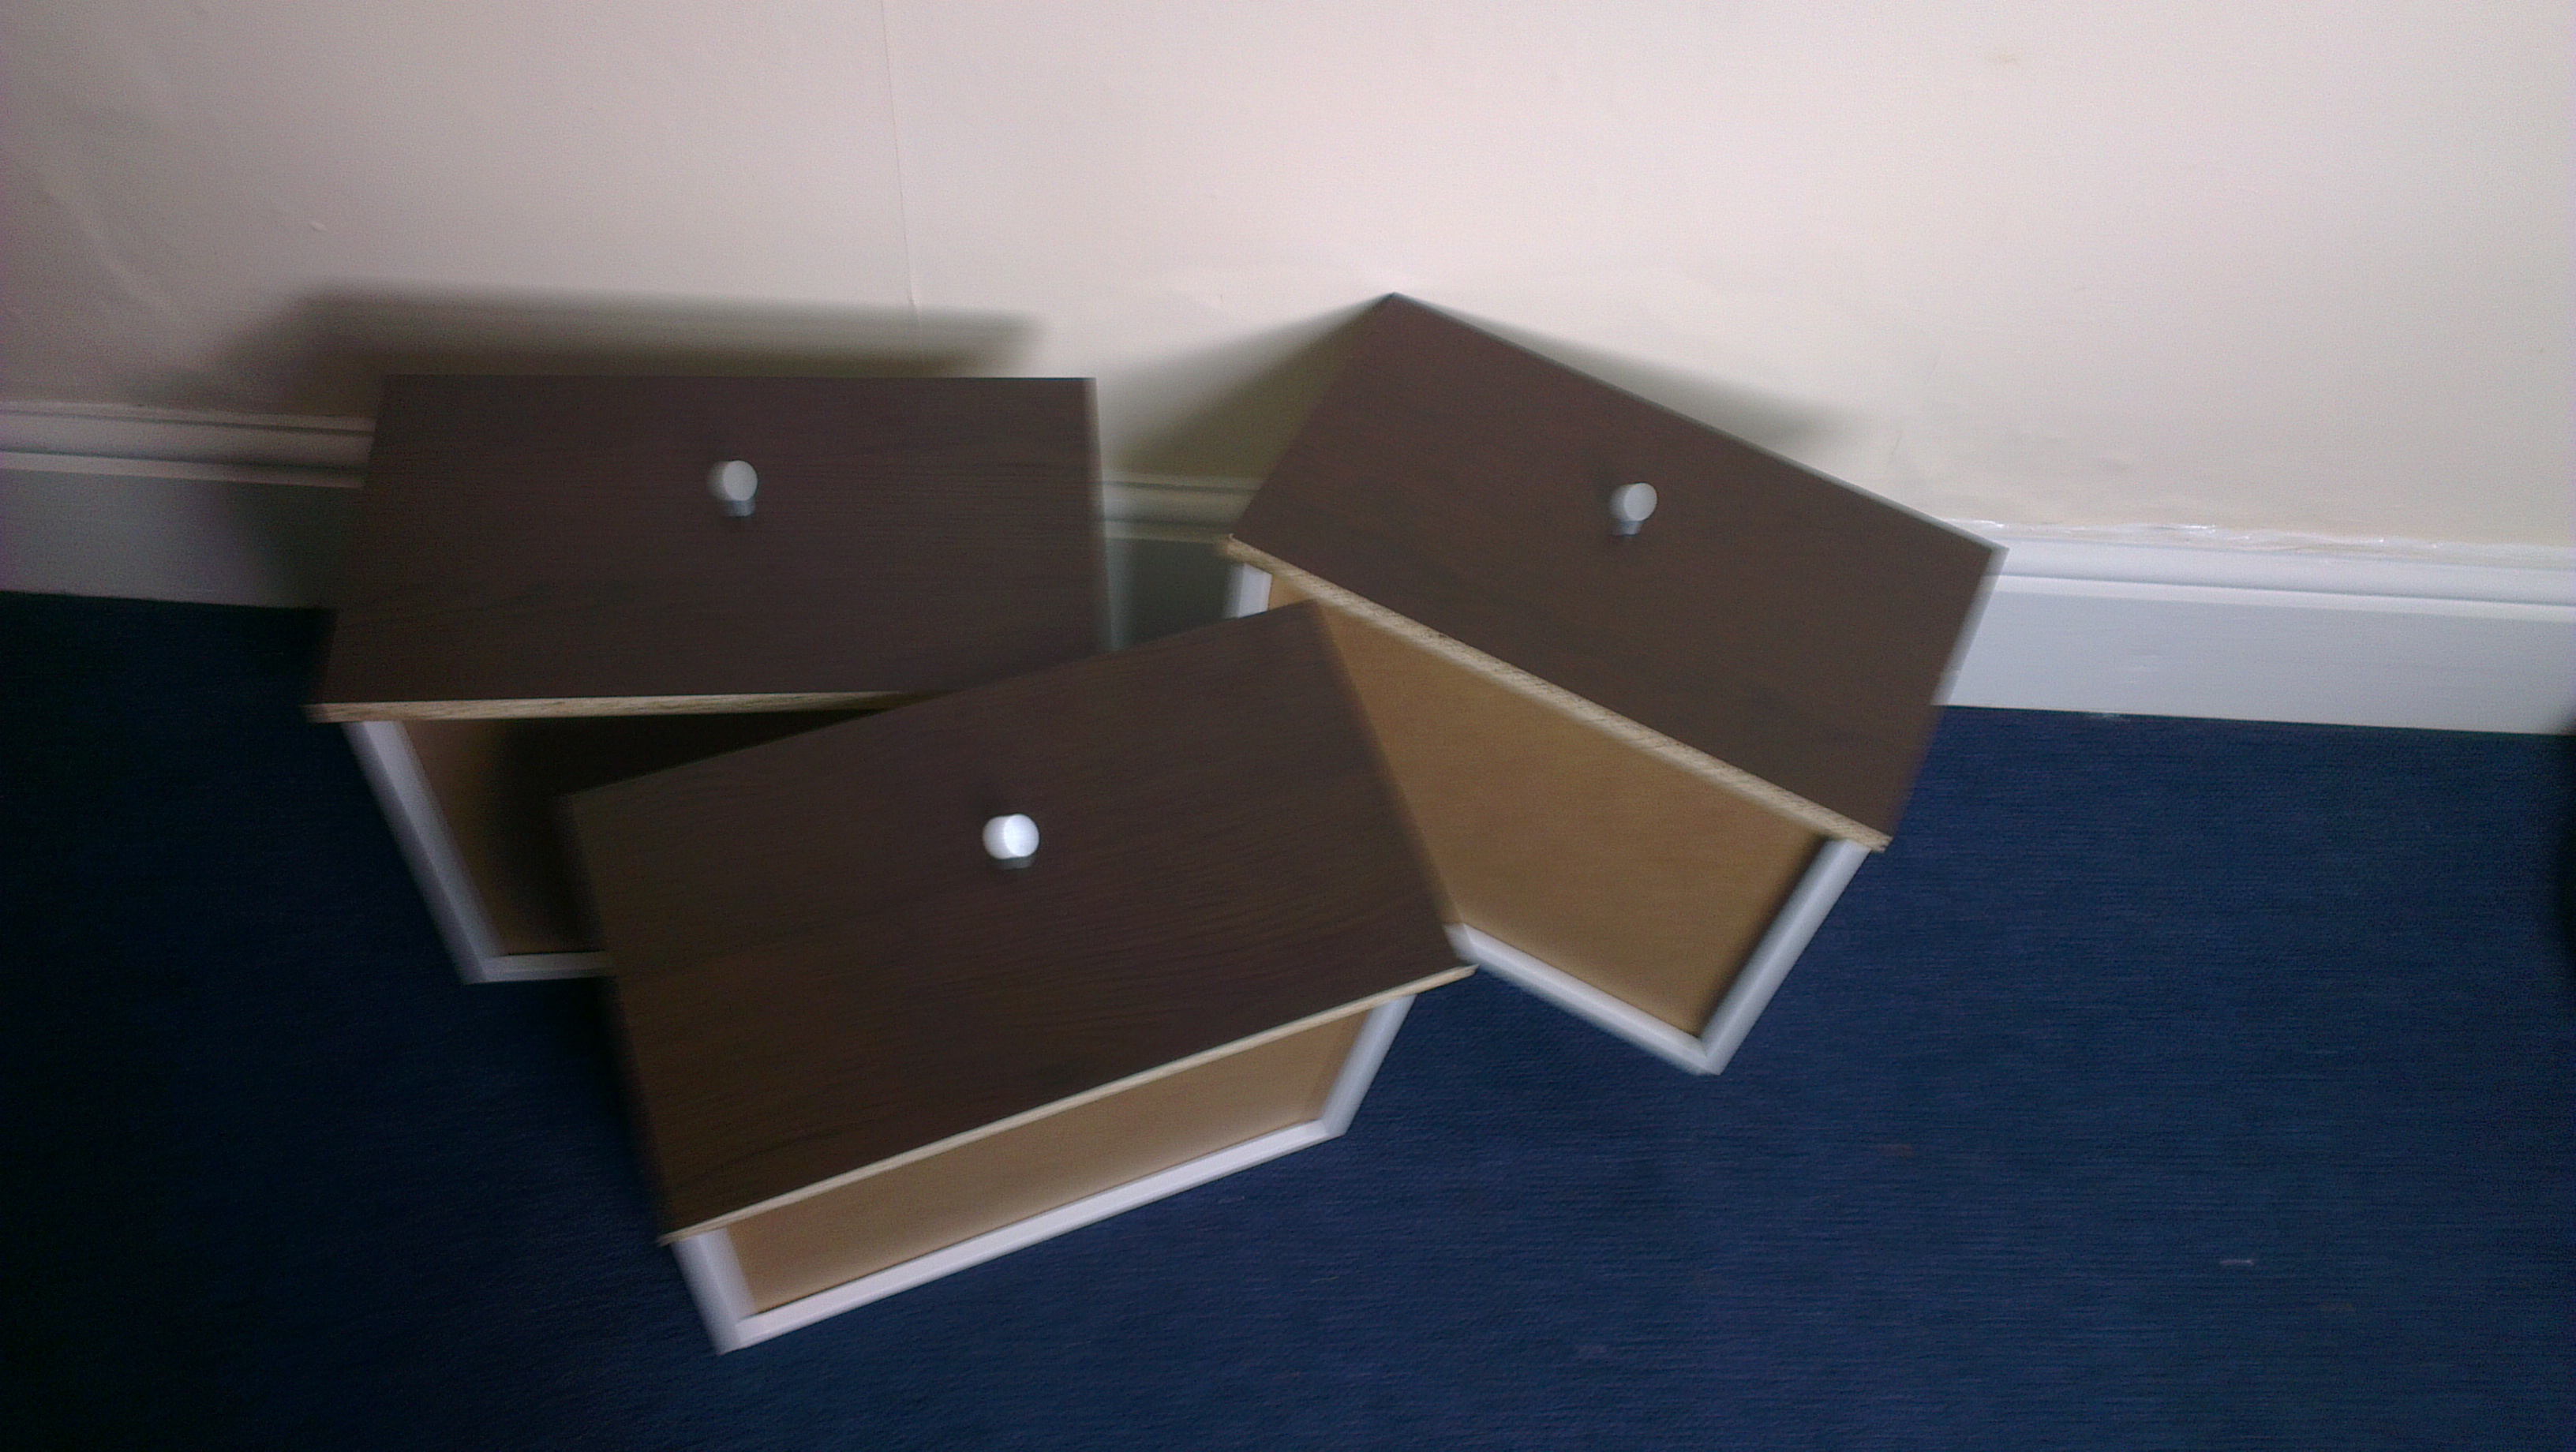
This took 30 minutes to do! 3 drawers with stoppers, base and handles sorted. Sorry about the image quality, my HTC One shakes a bit.
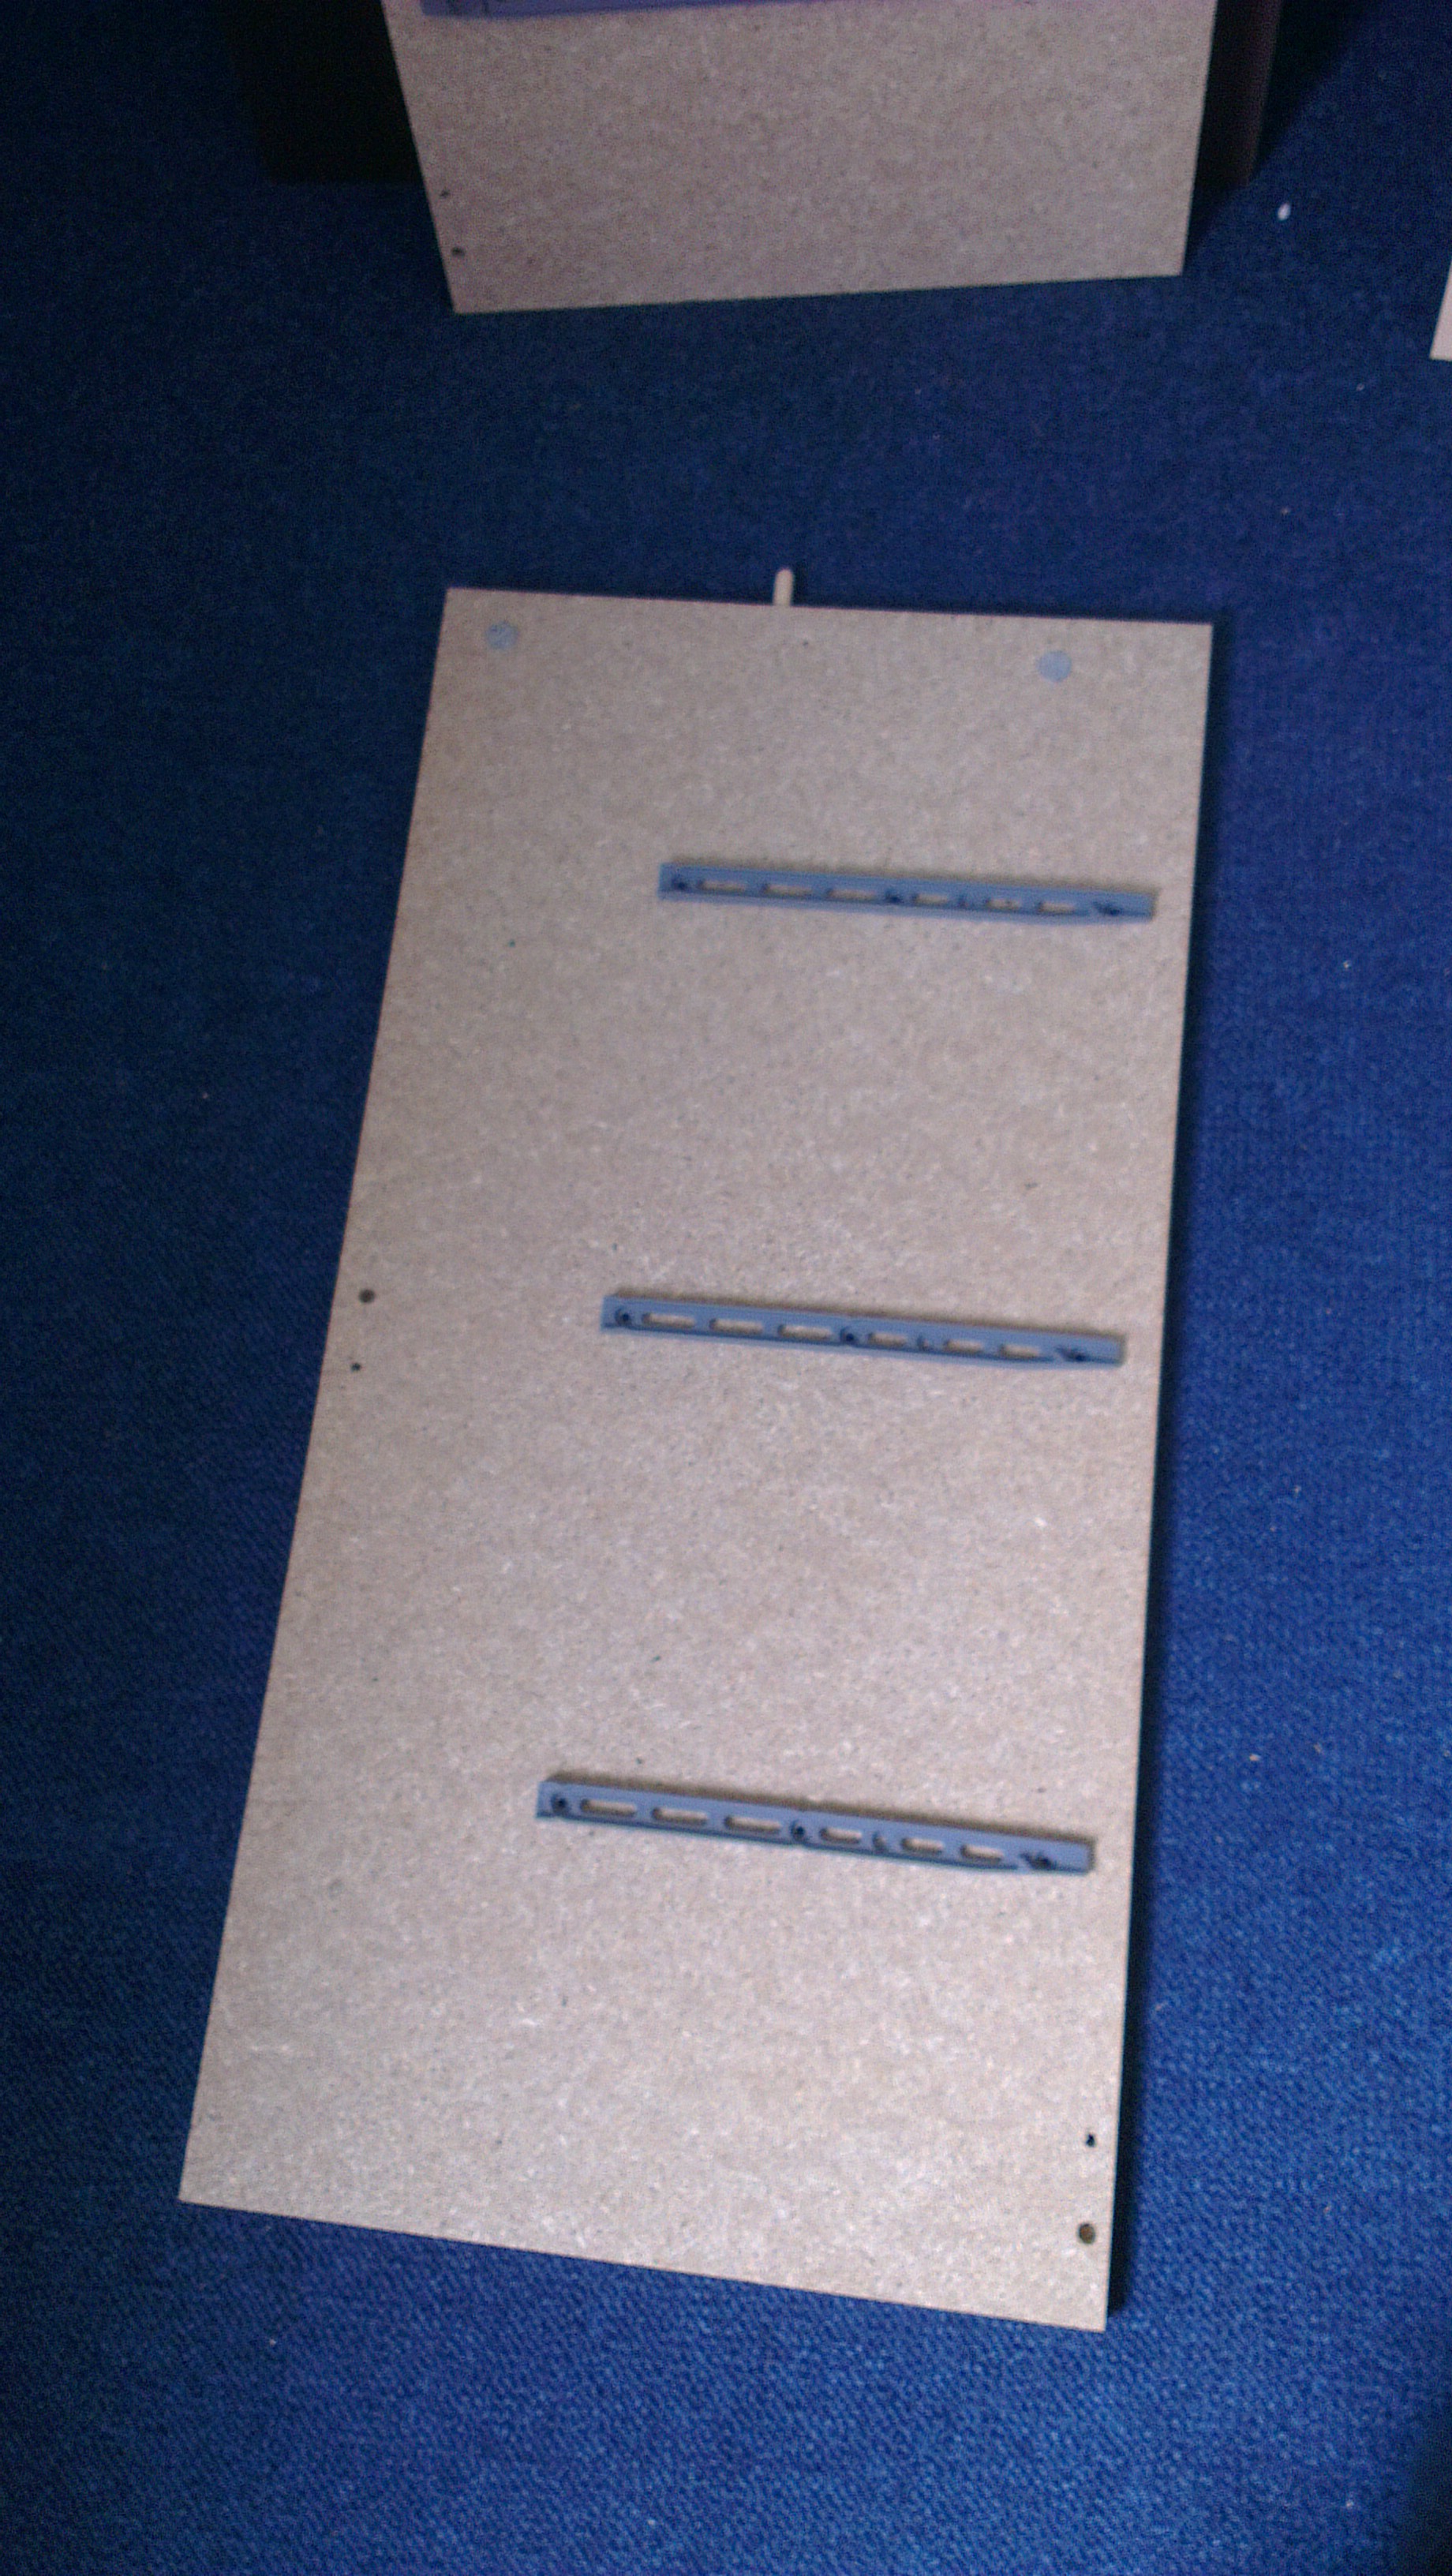
This is the side panel forthe drawers that will hold them. Also acts as legs for the table.

Attaching the side bars to support the legs. These were a bit tough as I am only doing it with one tool and no support.

Finally the two side panels attached and drawer sliders attached inside. All this was done with that ratchet screwdriver. This was very difficult as the side panels had to be straight and obviously with my amateur try, they did become unruly.

This is attaching the board for the back of the legs and also as a ‘backgaurd’ to the drawers. Didn’t have a hammer so hammered the nails with this empty, clean bottle of vinegar.

I did the side panels (left of picture) and then put the top panel up. It’s done! Got the chair a simple black. Sorts me out.

Final picture. Love the leg room and 3 drawers, with a small 3 panel shelf on the other side. Took me 2.25 hours to get this sorted. But it’s done. Now to get serious 🙂
That’s all folks. This is my first DIY and I absolutely loved it. Should try and do it more often 🙂